The Ultimate Guide to Changing Your Golf Grips: Step-by-Step Instructions for a Better Game
Share
Golf grips are the unsung heroes of your golf game. They are your direct connection to the club, and the right grip can significantly impact your performance. Over time, grips wear out, lose their tackiness, and become less effective. Changing your golf grips may seem daunting, but with a bit of guidance, you can easily handle this task yourself. This comprehensive guide will walk you through every step of the process, ensuring you get your clubs back in top shape.
Here is what you'll need:
- New Golf Grips: Choose grips that suit your playing style and preferences.
- Grip Tape: Double-sided tape that provides a sticky surface for the new grip.
- Grip Solvent: A liquid that makes the tape sticky and helps slide the grip onto the shaft.
- Utility Knife or Hook Blade: For removing old grips.
- Rubber Vise Clamp or Towel: To secure the club during the process.
- Ruler or Measuring Tape: For measuring grip size.
- Lint-Free Cloth: To clean the shaft.
Why You Should Change Your Golf Grips
Before diving into the "how," it’s essential to understand the "why." Golf grips wear out over time due to repeated use and exposure to the elements. Here’s why it’s crucial to replace them:
- Improved Performance: Fresh grips provide better traction and control, which can improve your swing accuracy and overall game.
- Enhanced Comfort: Worn grips can lead to hand fatigue and discomfort. New grips offer a more comfortable and secure feel.
- Prevention of Slippage: Old grips can become slippery, especially in wet conditions. New grips ensure a firm hold, reducing the risk of mishits.
Tools and Materials Needed
Reminder: before you start, make sure you have the following tools and materials:
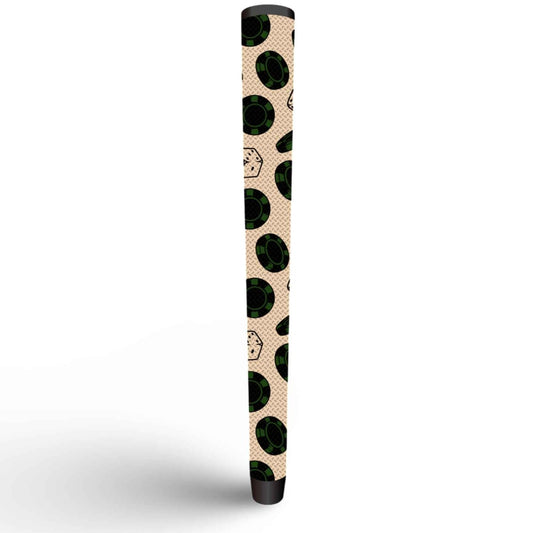
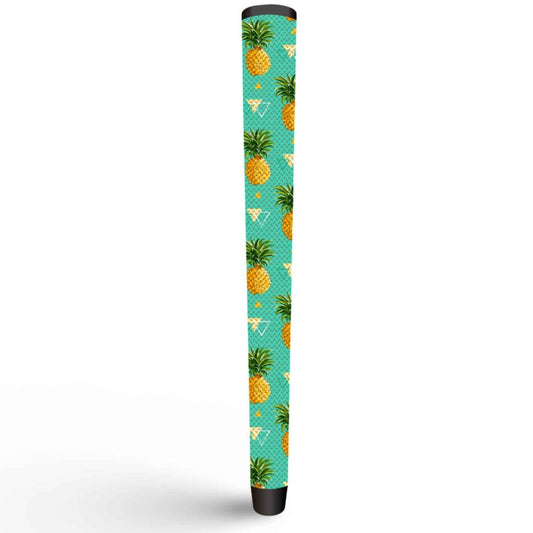
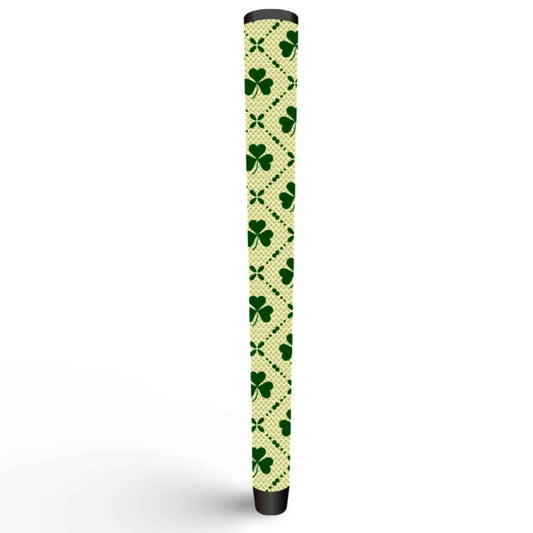
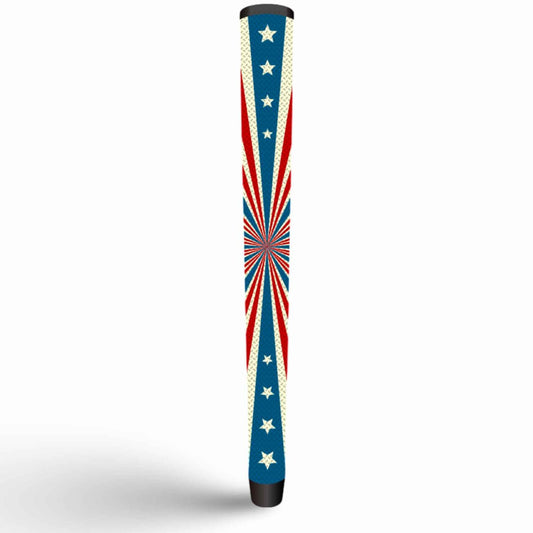
- New Golf Grips: Choose grips that suit your playing style and preferences. We prefer Stinger Golf Grips.
- Grip Tape: Double-sided tape that provides a sticky surface for the new grip.
- Grip Solvent: A liquid that makes the tape sticky and helps slide the grip onto the shaft.
- Utility Knife or Hook Blade: For removing old grips.
- Rubber Vise Clamp or Towel: To secure the club during the process.
- Ruler or Measuring Tape: For measuring grip size.
- Lint-Free Cloth: To clean the shaft.
Step 1: Remove the Old Grips
-
Secure the Club: Place the club in a vise clamp or wrap a towel around it to hold it steady. Ensure the club is secure but not damaged by the clamp.
-
Cut the Old Grip: Using a utility knife or hook blade, carefully cut through the old grip. Make sure not to damage the shaft underneath. Peel off the old grip once it’s cut.
-
Remove Residual Tape: Strip away any remaining grip tape from the shaft. Use the utility knife carefully to avoid scratching the shaft. Clean the area with a lint-free cloth.
Step 2: Prepare the Shaft
-
Clean the Shaft: Wipe down the shaft with a lint-free cloth to remove any dust, dirt, or residue from the old grip.
-
Measure and Apply Tape: Measure the shaft diameter to ensure the correct amount of grip tape. Apply a layer of double-sided grip tape around the shaft, making sure it’s smooth and even. Overlapping tape can cause uneven grip performance, so be precise.
-
Apply Grip Solvent: Pour grip solvent onto the tape and spread it evenly. The solvent helps the grip slide on easily and provides a secure hold once it dries. Avoid using excessive solvent, as it can make the grip too slippery.
Step 3: Install the New Grips
-
Slide on the New Grip: Align the new grip with the shaft and slide it onto the shaft while the tape is still wet with solvent. Work the grip onto the shaft quickly before the solvent evaporates.
-
Adjust the Grip: Ensure the grip is aligned properly. Most grips have markings or logos that should be oriented consistently across all clubs. Adjust the grip’s position until it’s aligned correctly.
-
Remove Excess Solvent: Wipe away any excess solvent that may have oozed out from the grip.
Step 4: Allow the Grips to Dry
-
Let the Grips Cure: Allow the grips to dry completely before using the clubs. Typically, it takes about 24 hours for the grips to fully set and for the solvent to evaporate.
-
Check for Firmness: After the drying period, check that the grips are firmly in place and secure. If any of the grips feel loose, you may need to reapply the grip tape and solvent.
Tips for Success
- Choose the Right Grips: Select grips that suit your playing style and preference. They come in various textures, sizes, and materials.
- Keep it Clean: Always work in a clean, well-ventilated area to avoid any contamination or solvent fumes.
- Be Precise: Accurate measurement and application of tape are critical to ensuring the grip performs well. Our square putter face will allow you to be as precise as possible.
Conclusion
Changing your golf grips is a straightforward process that can greatly enhance your game. With the right tools and a bit of patience, you can replace your old grips with new ones that offer better performance and comfort. Follow these steps, install Stinger Golf Grips, and you’ll be back on the course with improved control and confidence in no time.
Happy golfing, and may your new grips help you drive your game to new heights!


